BxEngine must be installed before you can log into BxAdmin - This is covered in BxLogistics installation part 1 - BxEngine.
There are two ways to log into BxAdmin:
- Using a company code, user name and password at bxadmin.bxsoftware.no.
- Automatic login via the partner portal → licenses.
If you are setting up an integration with a cloud-based ERP, there is no need to set up a database or install BxEngine, as this runs in BxCloud. The instance is activated by us.
This guide covers how to log in via the partner portal. This requires an active partner portal login. If you do not have one, please contact us at support@bxsoftware.no and we will create a user account for you. This access is only available to BxSoftware resellers.
If you are a direct customer of BxSoftware, please contact us at support@bxsoftware.no to receive login credentials
Steps in BxAdmin Setup
ERP Integration
In this guide we are looking deeper into the integration towards the Visma.net ERP. This means that most of this setup is directed towards Visma.net, but the approach is mostly similar to other ERP systems as well. Click the links below for more information on setting up specific ERP integrations.
| Visma Business w/VBS integration | VBS user integration , VBS setup BxAdmin and Visma Business VBS packing slip setup BxAdmin |
| Visma Business NXT | Coming soon |
| Visma Global | Coming soon and Visma Global packing slip setup BxAdmin |
| Visma.Net | Scroll down for user guide, VismaNet integration user and VismaNet packing slip setup BxAdmin |
| Uni Økonomi | Coming soon |
| SAP Business One | Coming soon |
| Tripletex | Coming soon |
| PowerOfficeGo | Coming soon |
| Multicase | Coming soon |
Logging into BxAdmin via the partner portal
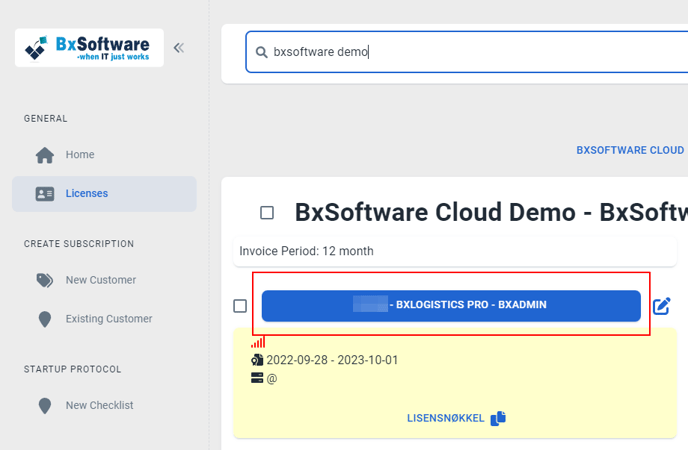
- Log into https://partner.bxsoftware.no/licenses.
- Enter the name of the customer/license that you installed on the server during part 1.
- You will now see an overview over licenses. Click the large blue button labeled "BxAdmin".
- You will automatically be redirected to the correct BxAdmin.
- Log in using your partner portal user account.
BxAdmin wizard
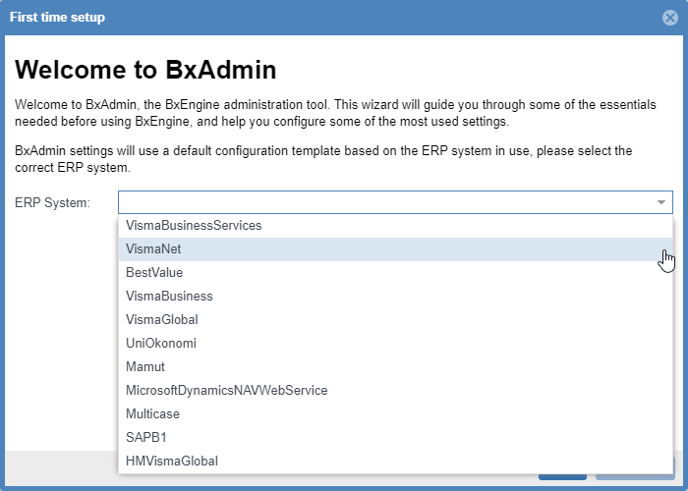
When logging into BxAdming for the first time, you will see a setup wizard.
-
Choose the correct ERP system from the ERP Template dropdown.
- Selecting the correct ERP is crucial.
- You can also choose the preferred language for BxMobile (default: Norwegian).
- Click Next Step to continue.
-
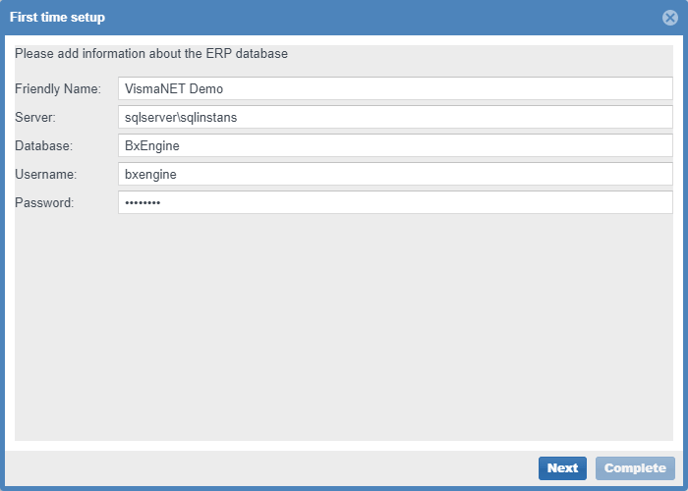
Enter customer details:
- Customer name
- SQL Server + Instance (if applicable)
- SQL username and password (created in Part 1)
- ERP database
- If configuring a cloud ERP in BxCloud, only the Friendly Name is needed. Other fields will not be visible.
- Click Next Step to proceed.
-
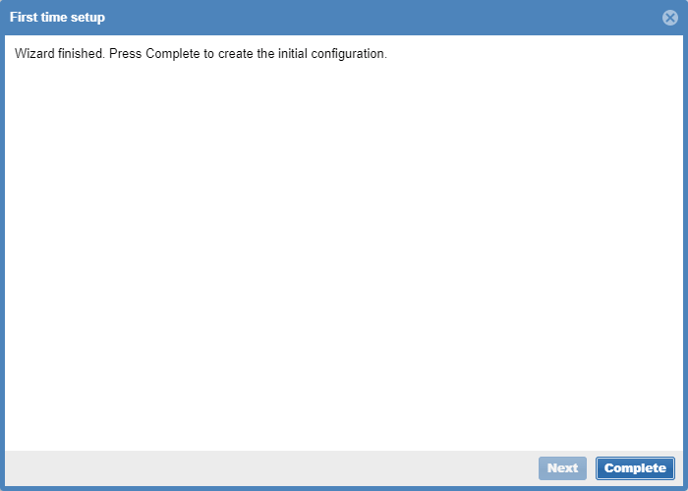
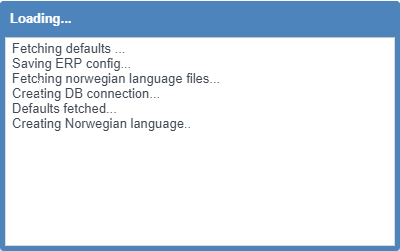
Click Generate Config to generate the configuration.
-
Once the configuration is complete, you will be redirected to the Home screen in BxAdmin.
- Here, you will see an overview of the ERP, server info, etc.
- Refresh the page (F5) before proceeding.
If it comes to a halt or freeze up and does not continue after a minute or more, refresh BxAdmin, and it will be finished.

Integration towards ERP - Generate Visma.net token
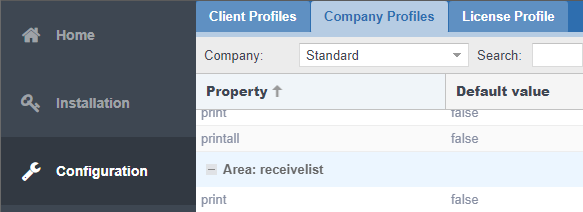
- Open Configuration → Company Profiles → click Generate Visma.Net Token.
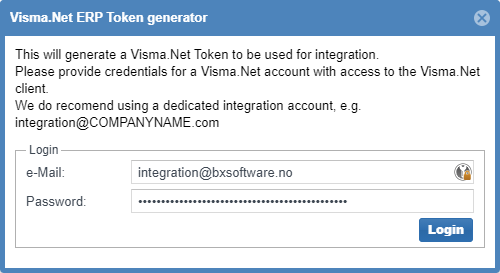
- Enter the e-mail address and password for the integration user.
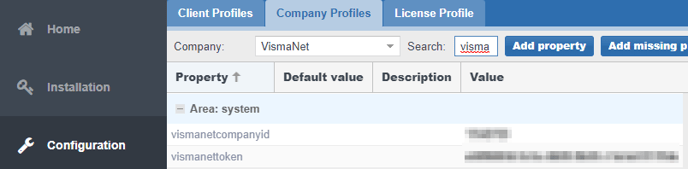
Note! When you generate a token with a username and password, other integrations with the same user will lose their access. If this is the case, you can copy/paste the already existing ID and token manually under Area: system, as described further down.

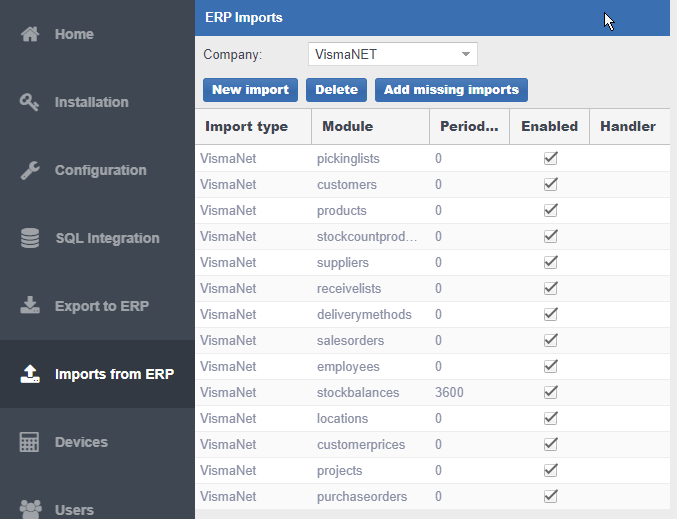
Activate Importers
This only applies for Visma.net and other sky-ERP's. For other on premises systems, you only need to run a query under SQL integration to see that you are retrieving the data from the ERP database.
- Open Imports from ERP. Here, you will see a list of different modules that can enabled based on what the client needs.
Next step
The next step is to install BxMobile and pair the device.
See Part 3 and 4 for instructions: