BxSmartPrintPro Installation Guide
Installing BxSmartPrintPro on a Server or PC
The installation file is available in our partner portal:
→ https://partner.bxsoftware.no/
If you are not a retailer/partner, please contact us at support@bxsoftware.no to receive a downloadable link.
Your license key is also available in the partner portal. If needed, we can send the license key along with the download link via support@bxsoftware.no.
Updating BxSmartPrintPro
If the "Update application" does not work, you can manually update BxSmartPrintPro using the same installation process (except for entering the license key).
System Requirements
Supported Operating Systems
- Windows Server (with GUI)
- Windows 7/8/10
Dependencies
- Visual C++ 2015-2022 Redistributable (x86) (Version 14.0.24212 or newer)
- Latest VC++ version can be found here
Hardware Requirements
- Minimal hardware requirements (a standard office/warehouse PC is sufficient).
Printer Setup Requirements
- Preferred: Local print queue in Devices and Printers (Control Panel).
- Supported: Shared printers from a print server, but:
- Requires a service user with printer access for BxSmartPrintProService.
- May cause delays or issues—local print queues are recommended.
Installation Paths
- Application installation path:
C:\ProgramFiles(x86)\BxSoftware\BxSmartPrintPro- (Can be changed during installation)
- Application data folder:
C:\ProgramData\BxSoftware\BxSmartPrintPro- (Cannot be changed)
Installation Steps
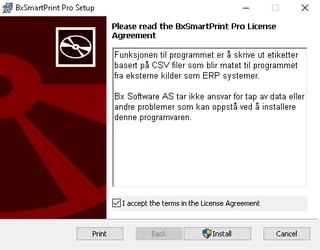
- Run the installer
BxSmartPrintPro.msi - Accept the License Agreement → Click Install.
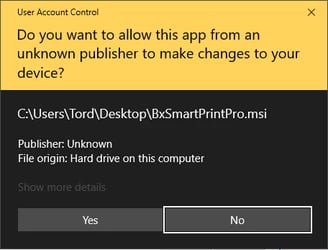
- If prompted by User Account Control (UAC), click Yes.


Initial Startup
1️⃣ First Launch:
- Open BxSmartPrintPro and click Admin screen (top left corner).

2️⃣ Enter the License Key:
- Paste the license key into the License Key field.
- Click Validate → A Company Code will appear.

3️⃣ Enable Windows Service:
- In older versions: Check "Use Windows Service".
- Note: This option has been removed in versions 2020.9.xxx and newer—Windows Service is now enabled by default.
4️⃣ Add Label Printers (if needed).
5️⃣ Click "Save & Close" to apply the settings.
✅ Setup Complete!
Updating BxSmartPrintPro
To update, simply:
1️⃣ Open BxSmartPrintPro
2️⃣ Click "Update Application"
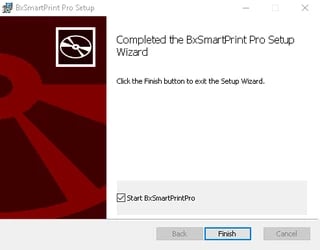
3️⃣ Follow the instructions (Yes → Next → Finish)
