Updating BxEngine usually takes only a few minutes. There are two ways to update it:
- Method 1: Update via BxAdmin - The easiest method if you have access to BxAdmin.
- Method 2: Updating from the Server Installation - The best option if you have access to the server but not BxAdmin.
Both methods achieve the same result, so you only need to follow one.
⚠ Note!
If your BxEngine service uses a service account and your version is older than 2019.1.2370, you must reassign the same service account after updating.
If updating from version 2019.1.2370 or newer, this is no longer necessary.
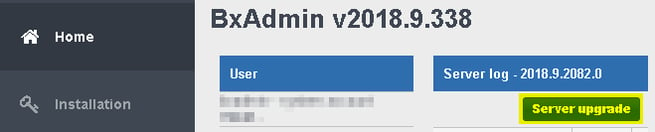
Method 1: Updating via BxAdmin
- Open BxAdmin and click Server Upgrade on the home screen.
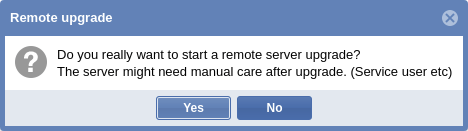
- Click Yes when prompted.
- Wait for the next pop up dialogue.
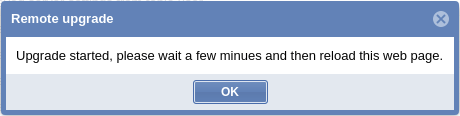
- Do not click OK immediately - wait a few minutes. If you click OK too soon, you might get a 404 error because BxEngine has not yet finished updating.
- Wait a few minutes, then refresh BxAdmin.
- If you can log in as usual, the update is complete.
Method 2: Updating via BxEngine Monitor
This method is done directly on the server and is useful when you don’t have immediate access to BxAdmin or if you are using an older version of BxEngine (pre-2019.1.2370) with a service account.
For versions 2019.1.2370 and newer:
- A command-line window will briefly appear during the update process.
- Do not close or click anything—just let it finish.
- Once the window closes, wait 30 seconds before reopening BxEngine Monitor (if it doesn’t restart automatically).
- The update is complete when BxEngine Monitor shows the latest version.
Steps to Update via BxEngine Monitor
- Start BxEngine Monitor. You can find it either on your desktop or under C:\Program Files (x86)\BxSoftware\BxEngine → BxEngine.Monitor.exe (Or in a customized path)


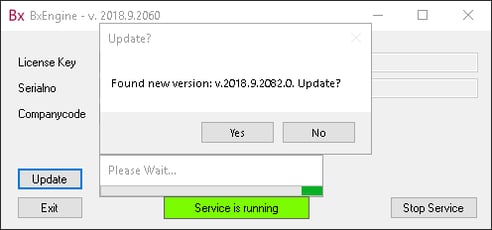
- Click Update → A version number and confirmation prompt will appear. Click Yes.
- Click Next → Next → Install → Finish
(If the path is customized, change it to the correct one)
- BxEngine has now been updated!
If your BxEngine service used a service account, make sure to reassign it after updating (only applies to versions older than 2019.1.2370, but it’s good to check anyway).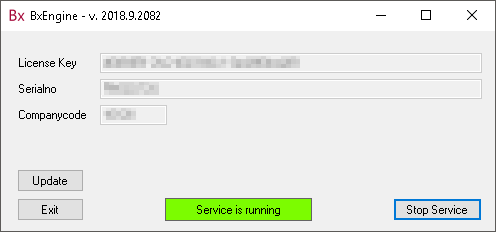
Troubleshooting: The Update Button is Grayed Out
If the Update button in BxEngine Monitor has been grayed out (not clickable), follow these steps:
- Go to:
C:\ProgramData\BxSoftware\BxEngine\Config - Open the BxEngine.ini file in Notepad.
- Remove the service name, then save the file.
- Close BxEngine Monitor before saving the changes.
- Restart BxEngine Monitor and try updating again.
(This issue typically affects versions from 2019/2020.)
Your BxEngine is now fully updated!