BxLogistics installation part 3 - BxMobile
How to install BxMobile on Android and iOS devices
There are two methods for installing BxMobile on Android terminals. One is via the Google Play Store, which requires logging into the terminals with a Google account. BxSoftware is not responsible for creating or assisting with Google accounts.
Not all terminals come with Google Play Services, so the easiest and best method to install BxMobile is by downloading an .apk file from our website.
Initial Setup
Before installing BxMobile, ensure the terminal is connected to the correct WiFi network after the first startup.
Installing the .apk file on Android 8 and newer
This guide explains how to install BxMobile on a Memor 10 terminal, but the process is the same for all terminals running on Android 8 or newer. For Android 7 and older, the installation is slightly different, but follows the same principles.
To avoid manually entering a URL in the browser, you can scan the QR Code from the terminal. Otherwise, follow these steps:

- Open the web browser (usually Chrome, or Chromium if the terminal does not have Google Play Services).
- Enter the following URL in the address bar: bxsoftware.no/bxmobile.apk
- A warning will appear stating that Chrome needs access to save files. Click Continue and then Allow access to media/files on the device.


- In the next dialogue, click Download. Swipe down from the top of the screen to track the download progress.


- Once the download is complete, tap the downloaded file to start the installation.Open the downloaded file to start the installation.
- A message will appear asking you to enable installation from unknown sources in Chrome:
- Tap Settings
- Enable Allow from this source
- Press the back button (either a software or hardware key, depending on the terminal model).


- You will now return to the installation screen. Tap Install and wait for the process to complete.


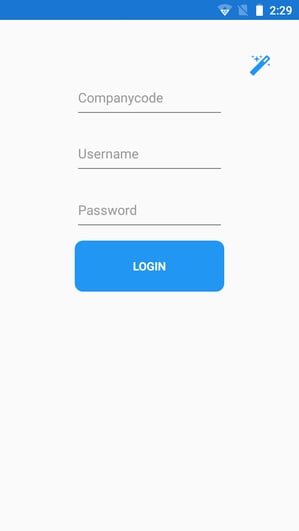
- Once installed, tap Open to launch BxMobile.

Next step: Pairing the Terminal
The next step is to pair the terminal in BxAdmin.
Follow installation part 4 for instructions.
Installing on Android 7 and Older
(More details with images will be added later).
The steps are the same as above, except for Step 4, which must be done before installation:
- Go to Settings → Security.
- Enable Unknown Sources.
After enabling this setting, follow the rest of the installation steps as described.
Installation via Google Play Store
BxMobile is no longer available on the Google Play Store. The installation must be done using the .apk file as described above.
Installation iOS units (iPhone/iPad)
BxMobile for iOS can only be installed via the App Store.
The correct application is available here.
Update BxMobile
Updating via .apk Installation
If you need to update BxMobile to the latest version via .apk installation, follow this guide (more info here).
If you are not logged in, you can update BxMobile using the same method as the installation process.
Updating via Google Play Store
If BxMobile was originally installed from the Play Store, updates will be available there. However, you can also manually update using the .apk file as described above.
